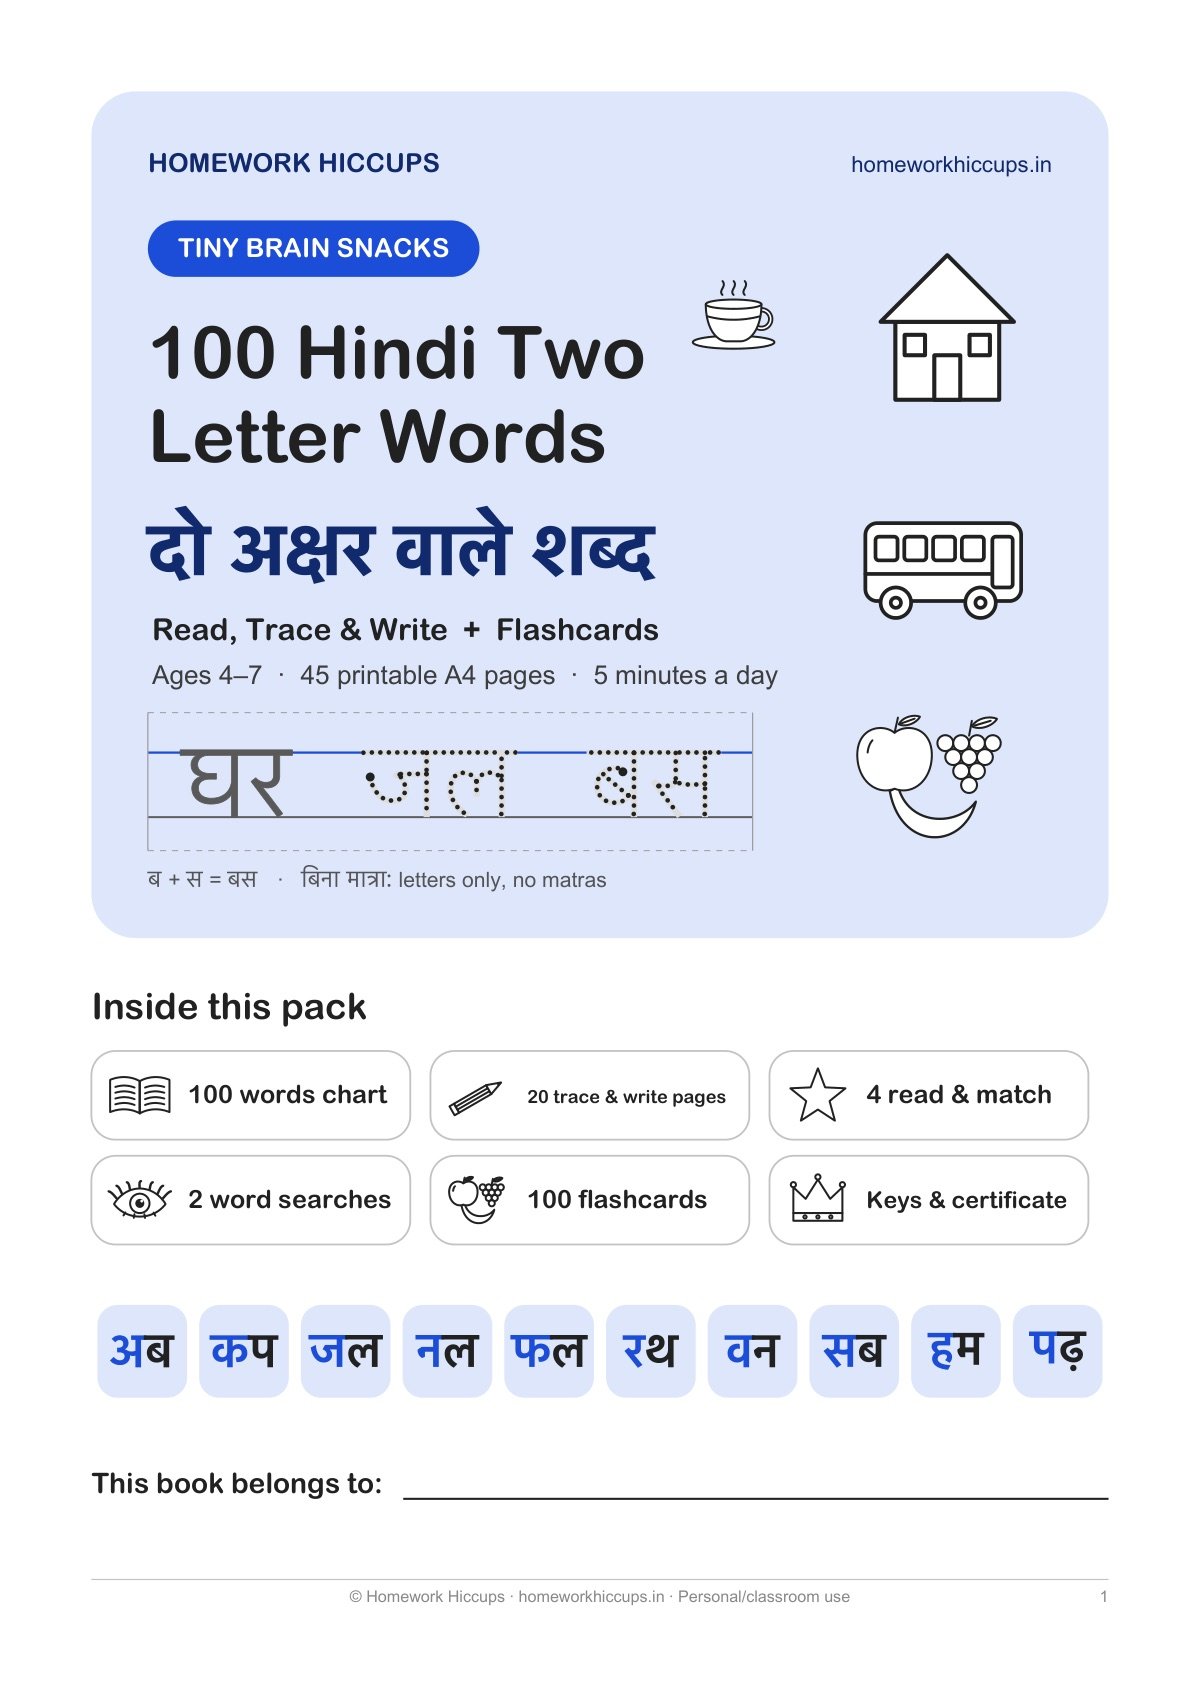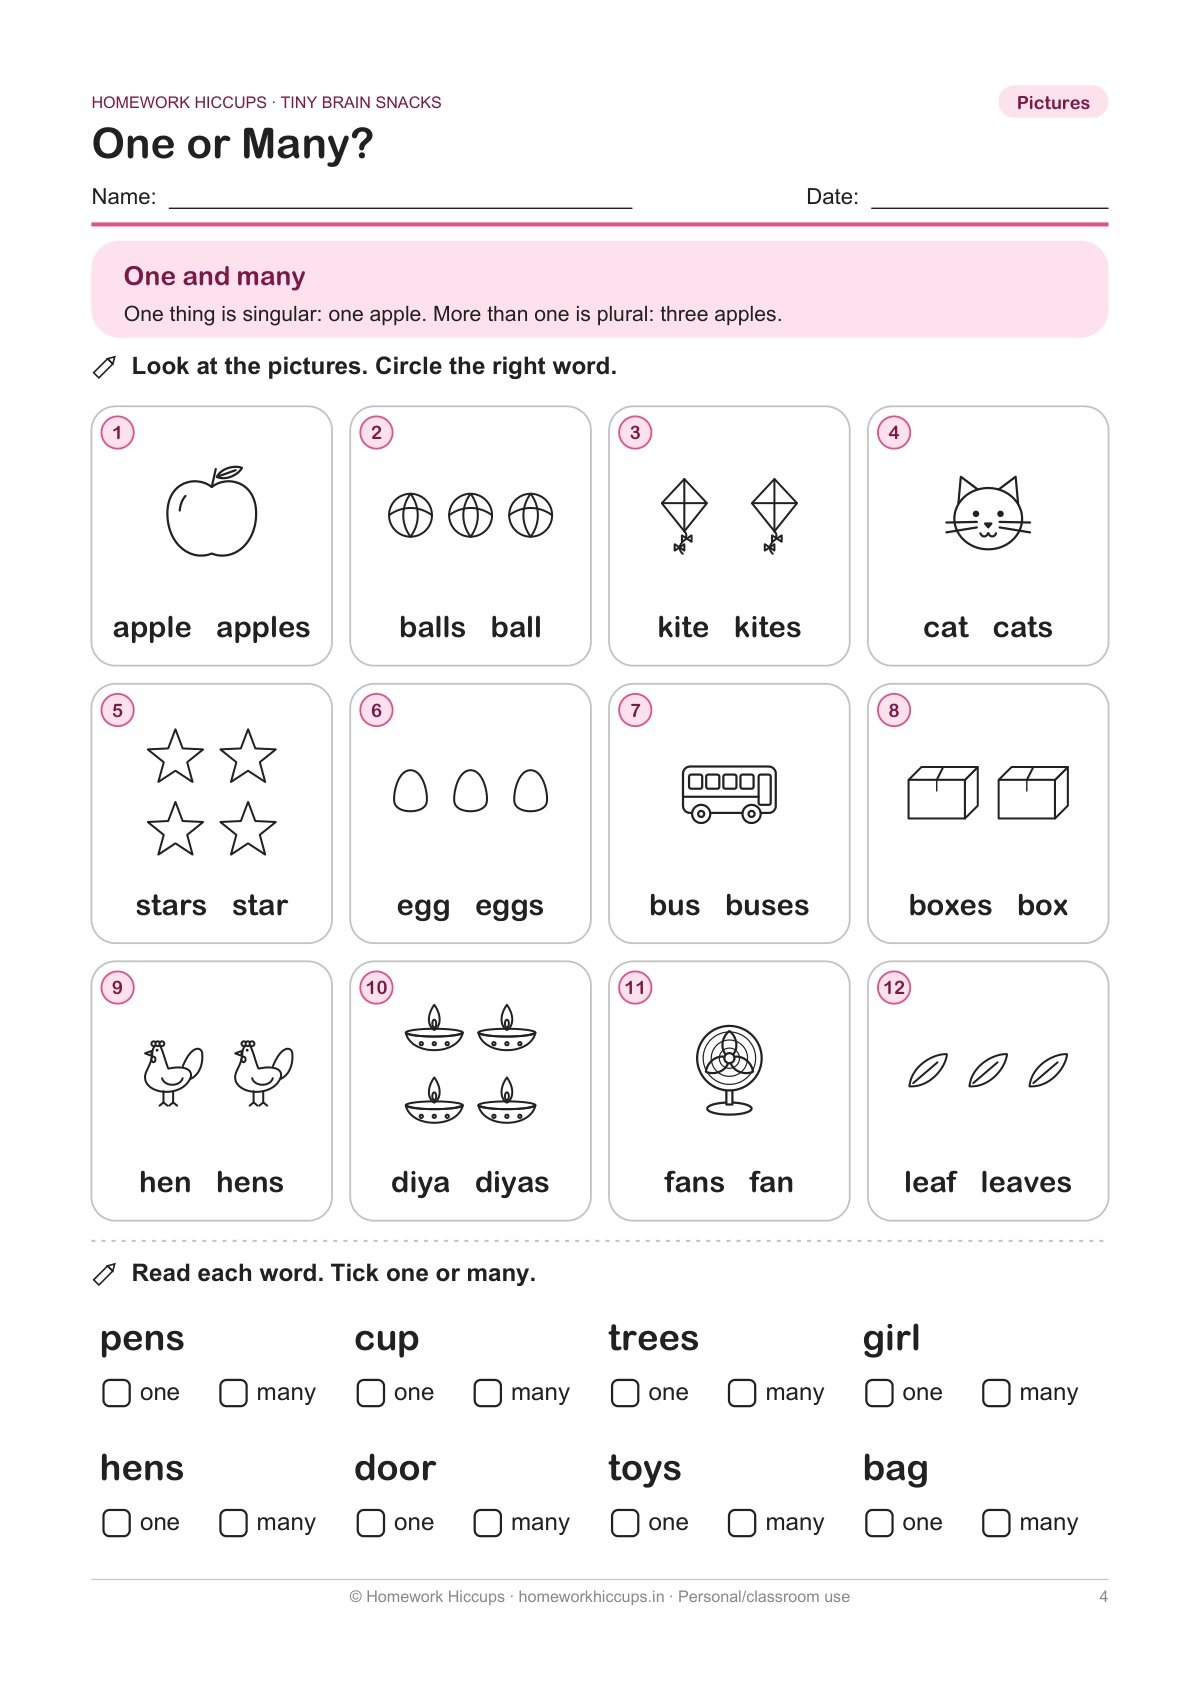
If the class teacher has written “improve handwriting” in your child’s diary, you are not alone. It is one of the most common notes Class 1 and Class 2 parents receive. The good news is that learning how to improve children’s handwriting is mostly about finding the real problem first, then practising a little every day, not filling page after page of copywriting.
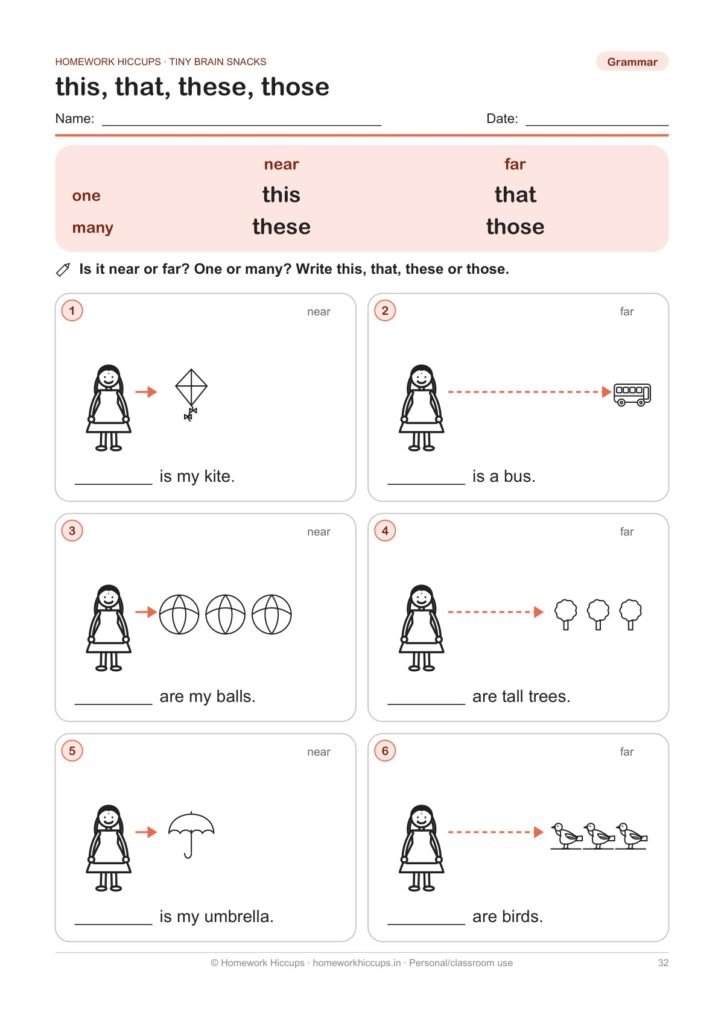
Print-ready worksheets for this topic
Class 1 English Worksheets PDF – Phonics, Sight Words, Grammar & Reading (48 Pages) – A4 PDF, instant download. ₹149 ₹299
This guide helps you work out what is actually going wrong (grip, posture, letter formation, spacing, size or speed), then gives 12 practical fixes with home exercises, a 10-minute daily routine and clear signs that it is worth speaking to an occupational therapist.
🧰 Make practice more fun at home
As an Amazon Associate, Homework Hiccups earns from qualifying purchases, at no extra cost to you.
Quick answer: To improve your child’s handwriting:
- Diagnose first: is the problem grip, posture, letter formation, spacing, size or speed?
- Build the hand: playdough, pegs, tearing paper and tongs strengthen small finger muscles.
- Fix the basics: feet flat, paper tilted, tripod grip, letters started at the right point.
- Practise little and often: 10 minutes a day, slow and neat, beats an hour of rushed copying.
- Know when to ask for help: pain, extreme slowness or avoidance are worth discussing with the teacher and a professional.
Step 1: Find the real handwriting problem
“Messy handwriting” can mean many different things. Sit beside your child while they copy three short sentences, and watch rather than correct. Then use this table:
| What you see | Likely cause | Fixes to try |
|---|---|---|
| Fist grip, thumb wrapped over fingers, very tight hold | Grip | Fixes 1, 2 and 3 |
| Slumping, head on the desk, paper sliding around | Posture | Fixes 4 and 5 |
| Letters started from the bottom, b and d mixed up | Letter formation | Fixes 6 and 7 |
| Words joined together or spread far apart | Spacing | Fix 8 |
| Letters floating above the line or of very different sizes | Size and line use | Fixes 9 and 10 |
| Neat when slow, unreadable when fast | Speed | Fixes 11 and 12 |
Most children have one or two main problems, not all six. Pick the biggest one and work on it for two to three weeks before adding another.
How to improve children’s handwriting: 12 fixes
Grip
Fix 1: Teach the tripod grip. In a tripod grip, the pencil rests on the middle finger and is held by the thumb and index finger, with the other two fingers tucked into the palm. A common trick: lay the pencil on the table pointing towards your child, ask them to pinch it near the sharpened end with thumb and index finger, then flip it up so it rests on the middle finger. Some children write well with a slightly different grip; if the grip is comfortable, not painful and the writing is readable, you do not need to force a change.
Fix 2: Use short pencils and crayons. Broken crayons and pencils about half the normal length leave room for only two or three fingers, which naturally encourages a pinch grip. A small rubber eraser held under the ring and little finger also helps those fingers stay tucked away.
Fix 3: Build finger strength. Many grip problems are really strength problems. Try these for 5 minutes a day:
- Squeezing and rolling playdough or atta dough into tiny balls.
- Pegging clothes pegs around the edge of a box or plate.
- Tearing paper into small pieces for a collage.
- Picking up beans or pasta with kitchen tongs or tweezers.
- Threading beads or buttons on a string.
For more ideas, see our list of fine motor activities for preschoolers; they work well for 6- and 7-year-olds too.
Posture
Fix 4: Check the chair and table. Your child’s feet should rest flat on the floor (or on a box or stack of books), with the table at roughly elbow height when seated. Writing on a bed, sofa or the floor makes neat writing much harder. A dining table with a cushion and a footrest works fine.
Fix 5: Tilt the paper and use the helper hand. For right-handed children, tilt the notebook slightly to the left; for left-handed children, tilt it slightly to the right. The non-writing hand should hold the page still. Left-handed children also find it easier when they sit on the left side of a shared table, so their elbows do not bump.
Letter formation
Fix 6: Start every letter at the right point. Most lowercase letters start at the top or in the middle, not at the bottom. Letters like c, a, d, g, o and q all begin with the same “c” curve going anticlockwise. Practise these as a family: c, a, d, g, o, q. Our guide on how to teach alphabet writing explains starting points letter by letter.
Fix 7: Sort out b and d. Teach b as “bat then ball” (tall line first, then the round part) and d as “c then up and down” (curve first, because d belongs to the c-family). Write b and d on a small card for the desk. Reversals are common up to about age 7.
Spacing
Fix 8: Use a finger space. After each word, your child places the index finger of their non-writing hand on the line and starts the next word on the other side of it. Lolly sticks with a face drawn on them (“space buddies”) work well too. Praise good spacing specifically: “I can read every word because of your spaces.”
Size and line use
Fix 9: Use a four-line notebook properly. In the four-line English notebooks used in many Indian schools, small letters such as a, c, e, m and o sit in the middle band between the second and third lines. Tall letters (b, d, f, h, k, l, t) reach up to the top line, and tail letters (g, j, p, q, y) hang down to the bottom line. Capital letters fill the top and middle bands. Colour the middle band lightly with a highlighter for a week; it gives a clear target.
Fix 10: Sort letters into families by height. Write three groups on a card: small letters, tall letters and tail letters. When your child writes a word, ask “which family is this letter in?” This one question fixes a lot of floating letters.
Speed
Fix 11: Slow down first, then speed up. Neatness comes before speed. For two weeks, let your child copy just two lines slowly and well. Then time one line with a gentle challenge: “Can you write it neatly in one minute?” Speed builds naturally once letter formation is automatic.
Fix 12: Reduce copying, increase thinking. Children who rush often do so because they are bored. Short writing tasks with a purpose, such as a shopping list, a birthday card, a note for grandparents or three sentences about a picture, give practice without the drudgery of copying pages.
A 10-minute daily handwriting routine
Consistency matters more than length. This is a routine many parents find easy to keep up, five days a week:
| Time | Activity | Purpose |
|---|---|---|
| 2 minutes | Hand warm-up: playdough, pegs or finger stretches | Strength and control |
| 2 minutes | Air writing and finger tracing of 2 target letters | Correct starting points |
| 4 minutes | One line each of the 2 letters, then 3 words using them, on four-line paper | Formation and size |
| 2 minutes | One short sentence with finger spaces; child circles their best word | Spacing and self-checking |
Change the target letters every two or three days. Keep each finished page in a folder so your child can see how much they have improved after a month.
Handwriting practice sheets: free and printable options
Many parents search for handwriting worksheets PDF free downloads. You can make good handwriting practice sheets at home:
- Rule four lines on a plain page with a pencil and ruler, or use a four-line notebook.
- Write the target letter once at the start of each row in your best handwriting, with a small dot where it starts.
- Below, write one short word and one short sentence for your child to copy.
- Leave the last row empty for “my best writing”.
Good sentences for Class 1 copying: “I can see a red bus.” “The cat is on the mat.” “We go to the park.” For Class 2: “My mother makes hot rotis.” “The kite is flying high in the sky.”
Once print handwriting is steady, some schools introduce cursive in Class 2 or 3. Our cursive writing A to Z guide explains that next step. If your child is younger and still learning strokes, start with nursery lines worksheets instead.
Prefer ready-to-print pages?
Class 1 English Worksheets PDF – Phonics, Sight Words, Grammar & Reading (48 Pages) – A4 PDF, instant download. ₹149 ₹299
Handwriting worksheets for grade 1: a ready option
If you would like structured practice, our Class 1 English Worksheets PDF (48 A4 pages) includes 2 handwriting pages on four-line guides, plus writing tasks such as capital letters and full stop, make a sentence from jumbled words, sight-word tracing and a picture composition page where children write 3 sentences. It also covers phonics, grammar and 4 short reading stories, with answer keys. It is a general English practice pack rather than a handwriting-only book, so use the handwriting pages alongside the routine above.
Get the Class 1 English Worksheets – ₹149
Prefer to check the pages first? Try a free sample first: it has 3 real pages from the pack. You can also browse all Class 1 worksheets.
When to worry: signs to talk to a professional
Most handwriting problems improve with time and practice. But speak to your child’s class teacher, and consider an assessment by a paediatrician or an occupational therapist (OT), if you notice:
- Pain or cramping in the hand or wrist while writing.
- Extreme slowness compared with classmates, even when copying familiar words.
- Strong avoidance or distress about writing, every day.
- Difficulty with other hand tasks too, such as buttons, cutting with scissors or using a spoon.
- Letter reversals and very irregular letter sizes that continue well beyond age 7 or 8, even with practice.
- A big gap between what your child can say and what they can write.
An OT can check hand strength, coordination and posture, and suggest specific exercises. Some children have a learning difficulty that affects writing (sometimes called dysgraphia), and early support makes a real difference. Only a qualified professional can assess this; do not try to label it at home.
🧸 Learning toys kids love
As an Amazon Associate, Homework Hiccups earns from qualifying purchases, at no extra cost to you.
Want everything for Nursery to Class 2?
Complete Worksheet Library – All 20 Packs for Ages 3–8 (790+ Pages): all 20 printable packs, 790+ A4 pages of English, maths, Hindi, EVS and festival activities. ₹699 ₹2130
Frequently asked questions
How can I improve my child’s handwriting at home?
Find the main problem first, such as grip, posture, letter formation, spacing, size or speed. Then practise for about 10 minutes a day with a hand warm-up, correct starting points, a few lines on four-line paper and one short sentence with finger spaces.
What is the correct pencil grip for kids?
The most common recommended grip is the tripod grip, where the pencil rests on the middle finger and is held by the thumb and index finger. If a slightly different grip is comfortable and the writing is readable, it may not need changing.
How long does it take to improve handwriting?
Many children show visible improvement after three to four weeks of short daily practice. Lasting change in speed and neatness usually takes a few months.
Should my Class 1 child learn cursive writing?
Most children are better off making their print handwriting steady first. Many schools introduce cursive in Class 2 or Class 3, so follow your school’s plan.
When should I see an occupational therapist about handwriting?
Consider it if your child has pain while writing, is extremely slow, avoids writing every day, struggles with other hand tasks such as buttons or scissors, or still has frequent reversals well beyond age 7 or 8. Talk to the class teacher first.