Many Indian schools start joined handwriting somewhere between Class 1 and Class 3, and the request usually arrives as a note in the diary: “Please practise cursive writing a to z at home.” If you are a parent who last wrote cursive years ago, or a teacher planning the first weeks, this guide breaks the job into small, clear steps.

Print-ready worksheets for this topic
Class 1 English Worksheets PDF – Phonics, Sight Words, Grammar & Reading (48 Pages) – A4 PDF, instant download. ₹149 ₹299
Below you will find how to tell if a child is ready, the letter families that make cursive easier to teach, how each small and capital letter starts, the main joining rules, how to use a four-line notebook, a 6-week practice plan and the mistakes to watch for. Every activity works with a pencil and an ordinary notebook.
Quick answer:
- Start with good print. A child should form all print letters correctly before starting cursive, usually around Class 1 or 2.
- Teach small letters in families, not a to z order: swing-up letters, c-family, loop letters, hump letters.
- Then joins, then capital letters, then whole words and sentences.
- Little and often: 10 minutes a day on a four-line notebook beats one long session a week.
When is a child ready for cursive?
Cursive builds on print. If a child still forms print letters from the wrong starting point, joined writing will copy the same habits and make them harder to fix. Look for these signs before you start:
- Writes all 26 small letters and capitals in print, starting each from the right place.
- Holds the pencil in a comfortable tripod grip without pressing very hard.
- Can keep letters sitting on the line in a four-line notebook.
- Can copy a short sentence with spaces between words.
- Sits for 10 minutes with feet flat and the paper slightly tilted.
If some of these are missing, spend two or three weeks on print first. Our guide on how to teach alphabet writing covers correct print formation, and the fine motor activities post has hand-strength games that help any child who tires quickly. For a broader look at neat writing, see how to improve handwriting for kids.
Cursive writing a to z: small letters in families
Teaching cursive writing a to z in alphabetical order is the slowest route, because a and b are made in very different ways. Most teachers group letters by their first stroke. Styles differ a little between schools and books, so always follow the model your child’s school uses; the groups below match most common styles.
| Family | Letters | How they start |
|---|---|---|
| Swing-up letters | i, t, u, w, r, s, j, p | A slanted up-stroke from the bottom line to the middle |
| C-family | a, c, d, g, o, q | Up to the middle, then curve back round like a c |
| Loop letters | e, l, h, k, b, f | Swing up and make a loop, small for e, tall for the others |
| Hump letters | n, m, v, x, y, z | A small hill stroke over the top |
Start with the swing-up family because i, t and u are short and easy to join. The c-family comes next because children already know the round c shape from print. Loop letters need the most control, so give them extra time.
Where each small letter starts and ends
- a, c, d, g, o, q: swing up, curve back round. d goes up tall; g and q drop below the line.
- i, u, w: swing up and down with points. Dot the i and keep it for the end of the word.
- t: swing up a little taller than i, come straight down, cross it at the end of the word.
- r and s: swing up to a small point at the top; these two change the most from print, so practise them alone.
- e and l: the same loop, small and tall. Practise eeee and llll in a row.
- b, h, k: a tall loop first, then the bottom shape.
- f: a tall loop above and a long loop below; it is the longest small letter.
- j, p, y, g, z: tails that loop below the bottom line.
- n, m, v, x, y, z: a hump to start. m has three hills and n has two.
Cursive writing a to z capital and small letters: the capitals
Cursive writing a to z capital letters are taught after the small letters, because children use small letters far more often. Capitals also vary most between books, so this is where you should copy the school’s chart closely. A few practical tips:
- Teach capitals in shape groups: round ones (C, O, A, E), hill ones (N, M, H, K, U, V, W, X, Y, Z), and tall stem ones (P, B, R, T, F, I, J, L, D, S, G, Q).
- All capitals sit between the top line and the bottom of the middle space in a four-line notebook. J, Y, Z and sometimes G and F have a tail below.
- Many styles do not join some capitals to the next letter. Again, follow your school’s model and do not mix two styles.
- Begin with the capitals your child needs most: the first letter of their name, family names and the days of the week.
Joining rules that make cursive easy
Children often learn every letter alone and then get stuck when they try to join. These rules cover almost every join:
- Most letters end at the bottom with a small swing-up exit stroke, which becomes the start of the next letter. Practise pairs like in, it, an, ad.
- Four letters end high: b, o, v and w. Their exit stroke goes across at the middle line, like a bridge, so the next letter starts from the top. Practise ob, on, ow, ve, wi.
- Do not lift the pencil inside a word except to dot i and j and cross t and x at the end.
- Keep the same slant. A gentle lean to the right is fine, as long as every letter leans the same way.
- Leave a clear space between words, about the width of a small o.
Good starter words that use only easy joins: it, in, at, cat, tin, tub, cut, sit, act, dad. Then move to bridge words: on, bow, owl, van, web.
Using a four-line notebook for cursive
Most Indian schools use four-line English notebooks for both print and cursive. Number the lines 1 to 4 from the top to talk about them easily:
| Letter height | Lines used | Examples |
|---|---|---|
| Small letters | Between lines 2 and 3 | a, c, e, i, m, n, o, r, s, u, v, w, x |
| Tall letters | From line 1 down to line 3 | b, d, h, k, l (t goes a little lower than the top) |
| Tail letters | From line 2 down to line 4 | g, j, p, q, y, z |
| Long letter | From line 1 down to line 4 | f |
| Capitals | From line 1 down to line 3 | A, B, C (tails of J, Y, Z go lower) |
If your child struggles to stay in the lines, draw over the middle space lightly with a yellow highlighter so the main writing zone stands out. Younger children still working on pencil control will benefit from our nursery lines worksheets ideas first.
How to teach cursive handwriting: a 6-week plan
This plan assumes 10 to 15 minutes a day, five days a week. Each session has three parts: a warm-up pattern, the new letters, and a short word or line to copy.
| Week | New focus | Practice words |
|---|---|---|
| 1 | Warm-up patterns, then i, t, u, w | it, tit, wit, tutu |
| 2 | r, s, j, p and first joins | sip, rip, spit, just |
| 3 | c-family: a, c, d, g, o, q | cat, dog, good, quit |
| 4 | Loop letters: e, l, h, k, b, f | bell, help, kite, fish |
| 5 | Hump letters: n, m, v, x, y, z and bridge joins | man, van, box, zoo, owl |
| 6 | Capitals for names and days, then a full sentence | My name is Riya. Today is Monday. |
Warm-up patterns are simple joined shapes drawn across a full line: a row of small waves (for swing-up letters), a row of joined c shapes, a row of loops (eeee then llll), and a row of hills (mmmm). Two lines of patterns at the start of every session make the letters flow better.
Prefer ready-to-print pages?
Class 1 English Worksheets PDF – Phonics, Sight Words, Grammar & Reading (48 Pages) – A4 PDF, instant download. ₹149 ₹299
Make your own cursive writing practice sheet
You can make a cursive writing practice sheet in two minutes with a pencil and ruler:
- Take one page of a four-line notebook.
- On the first line, write the new letter three times in your neatest cursive, with a small dot where the pen starts.
- On the next two lines, write the letter lightly in dotted pencil for tracing.
- Leave two lines blank for your child to write alone.
- On the last line, write one short word that uses the letter.
Ask your child to circle their best letter on each line. Self-checking is a powerful habit and keeps practice positive.
Common cursive mistakes and quick fixes
- Letters lean in different directions. Tilt the notebook slightly (to the left for right-handers, to the right for left-handers) and write along the tilt.
- e and l look the same. Say “small loop, tall loop” while writing elel across a line.
- a and o are left open, so they look like u. Remind your child to close the c shape before going down.
- Loops are huge. Big loops make words messy. Aim for loops as thin as a grain of rice.
- Lifting the pencil after every letter. Practise joined pairs, then three-letter words, without lifting.
- Pressing too hard. If the page has dents on the back, the grip is too tight. Try a softer pencil and short breaks.
- Mixing styles. If school teaches one form of capital F and an online chart shows another, use the school’s form only.
Cursive writing for Class 1: keep expectations gentle
Cursive writing for Class 1 should be playful and short. Some schools start it in Class 1, others in Class 2 or 3, and many still use print in Class 1 exams. Check with the class teacher before you begin at home, so you are not teaching a style the school will change later. Praise effort and steady letters, not speed. Speed comes on its own after a few months of regular practice.
Cursive writing worksheets PDF: what we offer, honestly
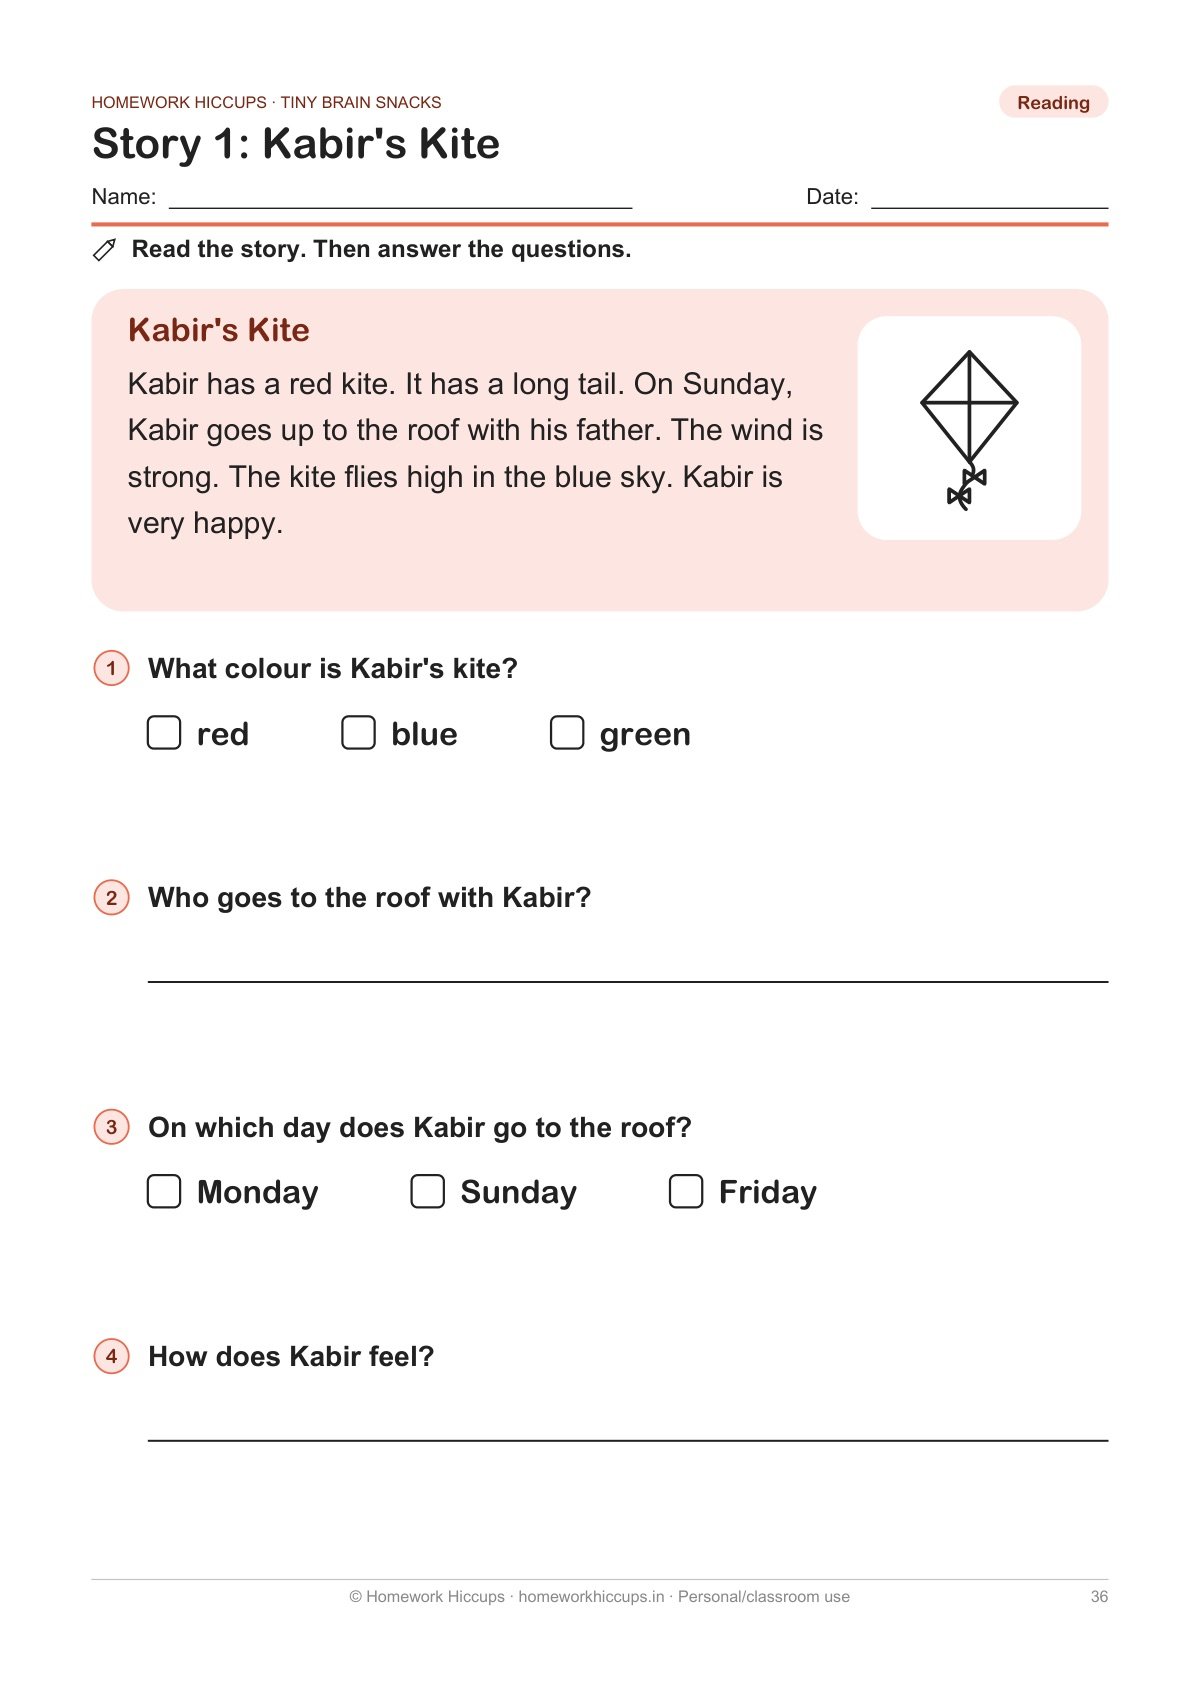
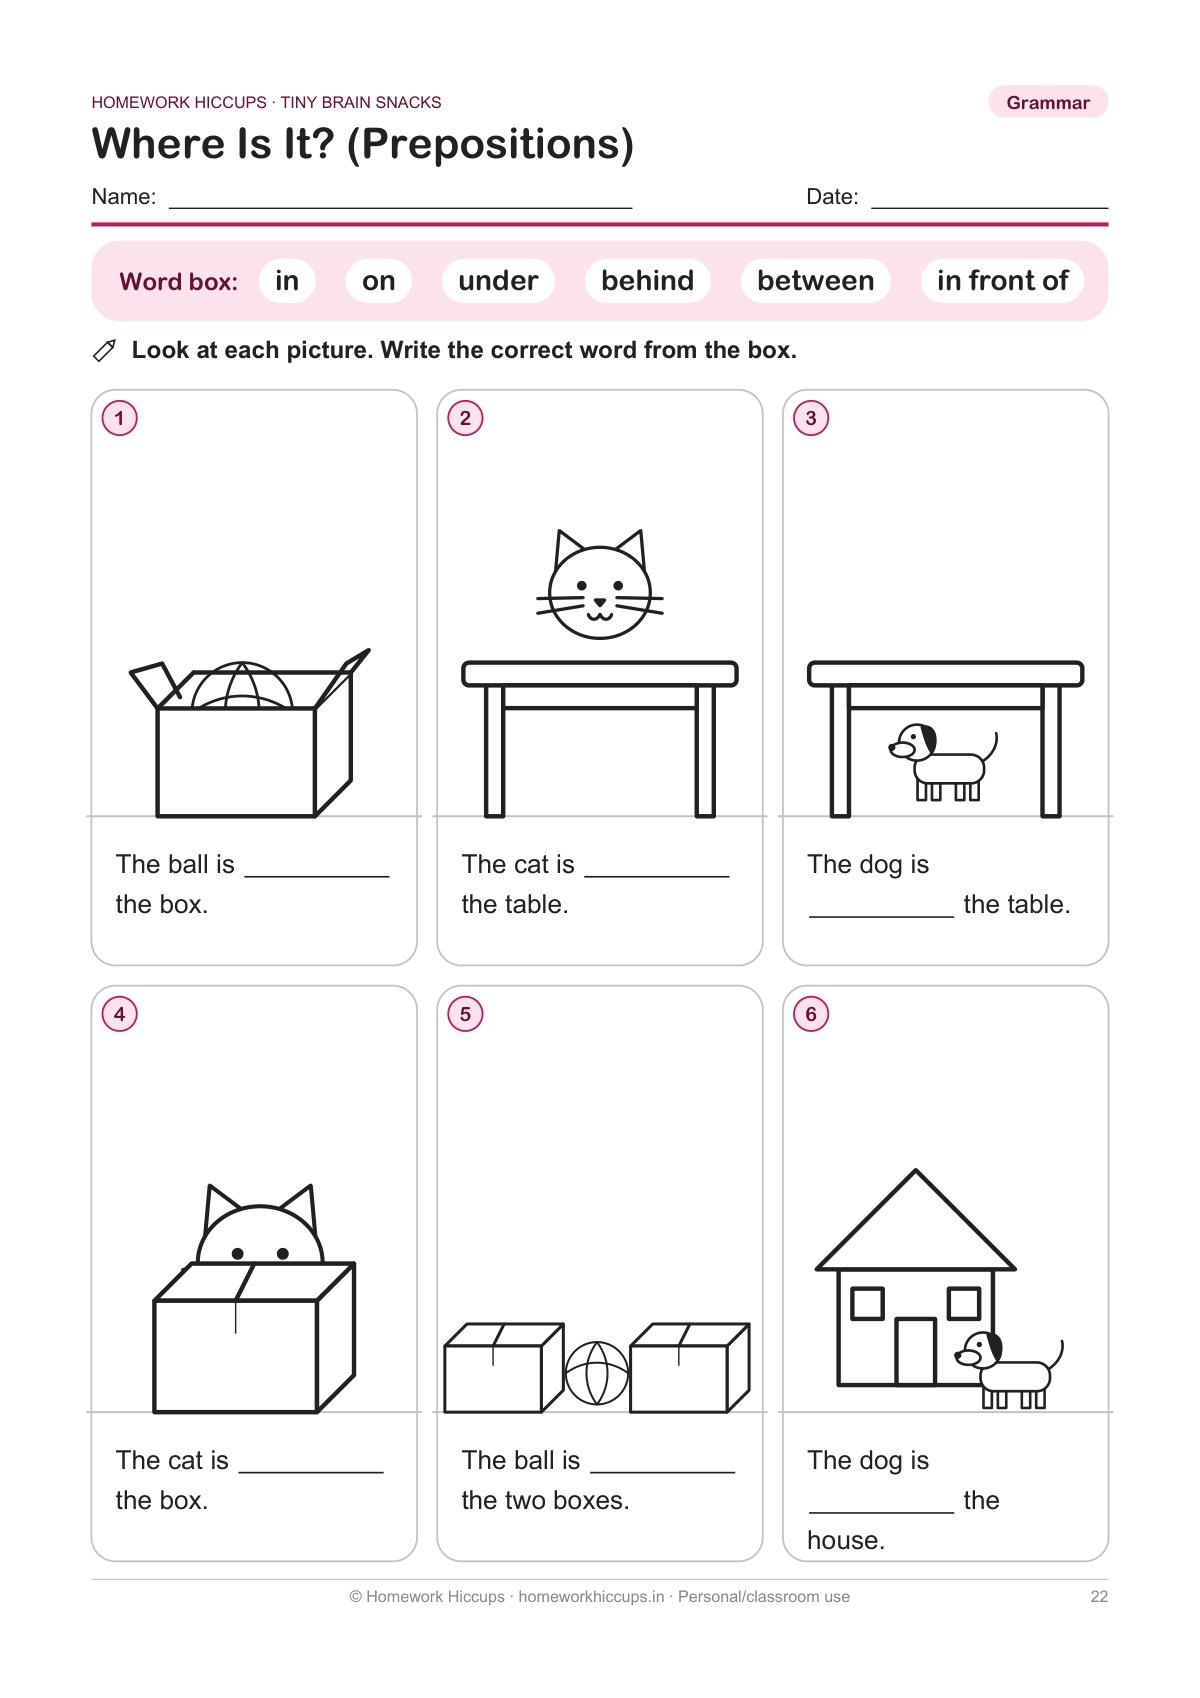
We do not currently sell a cursive pack. What our Class 1 English Worksheets PDF (48 A4 pages) does have is the print foundation that comes before cursive: 2 handwriting pages on four-line guides, plus phonics, 20 sight words, grammar, 4 short reading stories, picture composition and answer keys. If your child’s print is still shaky, these pages are a sensible place to start before moving on to joined writing. The pack is for personal and single-classroom use.
Get the Class 1 English Worksheets PDF – ₹149
Try a free sample first: the free Class 1 English sample has 5 pages (cover, 3 real pages from the pack and a contents page). Enter your name and email at checkout; no payment is needed.
Browse all our English worksheets and Class 1 worksheets.
Want everything for Nursery to Class 2?
Complete Worksheet Library – All 20 Packs for Ages 3–8 (790+ Pages): all 20 printable packs, 790+ A4 pages of English, maths, Hindi, EVS and festival activities. ₹699 ₹2130
Frequently asked questions
At what age should a child start cursive writing?
Most children are ready between 6 and 8 years, once they can write all print letters correctly and hold a pencil comfortably. Many Indian schools introduce it between Class 1 and Class 3.
Should I teach cursive capital letters or small letters first?
Teach small letters first, in families, because they make up most of what children write. Add capital letters once small letters and simple joins are steady.
Which cursive letters are hardest for children?
r, s, f, k and z usually take the longest, because they look quite different from print. Practise them alone and in short words before using them in sentences.
How long should cursive practice be each day?
About 10 to 15 minutes a day is enough for young children. Short daily practice builds steady hand movement better than long weekend sessions.
Is your Class 1 English pack a cursive workbook?
No. It includes 2 print handwriting pages on four-line guides along with phonics, grammar and reading. It helps build the neat print that comes before cursive, but it does not teach joined letters.